Gatsby - Syntax Highlight 🏷
Add some syntax highlighting for adding code blocks to your blog pages. To do that you're going to add dependencies for `prism-react-renderer` and `react-live`. 🔆
$ yarn add prism-react-renderer react-live$ touch root-wrapper.js gatsby-ssr.js gatsby-browser.jsYou're going to get prism-react-render up and running for syntax highlighting for any code you're going to add to the blog.
First you're going to import root-wrapper.js file into both gatsby-browser.js and gatsby-ssr.js file. Into both code modules, paste the following:
import { wrapRootElement as wrap } from './root-wrapper';export const wrapRootElement = wrap;MDXProvider is used to give React components to override the markdown page elements.
Import the theme then use it in the props of the Highlight component.
root-wrapper.js:import { MDXProvider } from '@mdx-js/react';import Highlight, { defaultProps } from 'prism-react-renderer';import React from 'react';
const components = { h2: ({ children }) => ( <h2 style={{ color: 'rebeccapurple' }}>{children}</h2> ), 'p.inlineCode': props => ( <code style={{ backgroundColor: 'lightgray' }} {...props} /> ), pre: props => { const className = props.children.props.className || ''; const matches = className.match(/language-(?<lang>.*)/); return ( <Highlight {...defaultProps} code={props.children.props.children.trim()} language={ matches && matches.groups && matches.groups.lang ? matches.groups.lang : "" } theme={theme} > {({ className, style, tokens, getLineProps, getTokenProps }) => ( <div className='pre-highlight'> <pre className={className} style={style}> {tokens.map((line, i) => ( <div {...getLineProps({ line, key: i })}> {line.map((token, key) => ( <span {...getTokenProps({ token, key })} /> ))} </div> ))} </pre> </div> )} </Highlight> ); },};
export const wrapRootElement = ({ element }) => ( <MDXProvider components={components}>{element}</MDXProvider>);I have done the changes for my blog here
Adding Tag 🔖
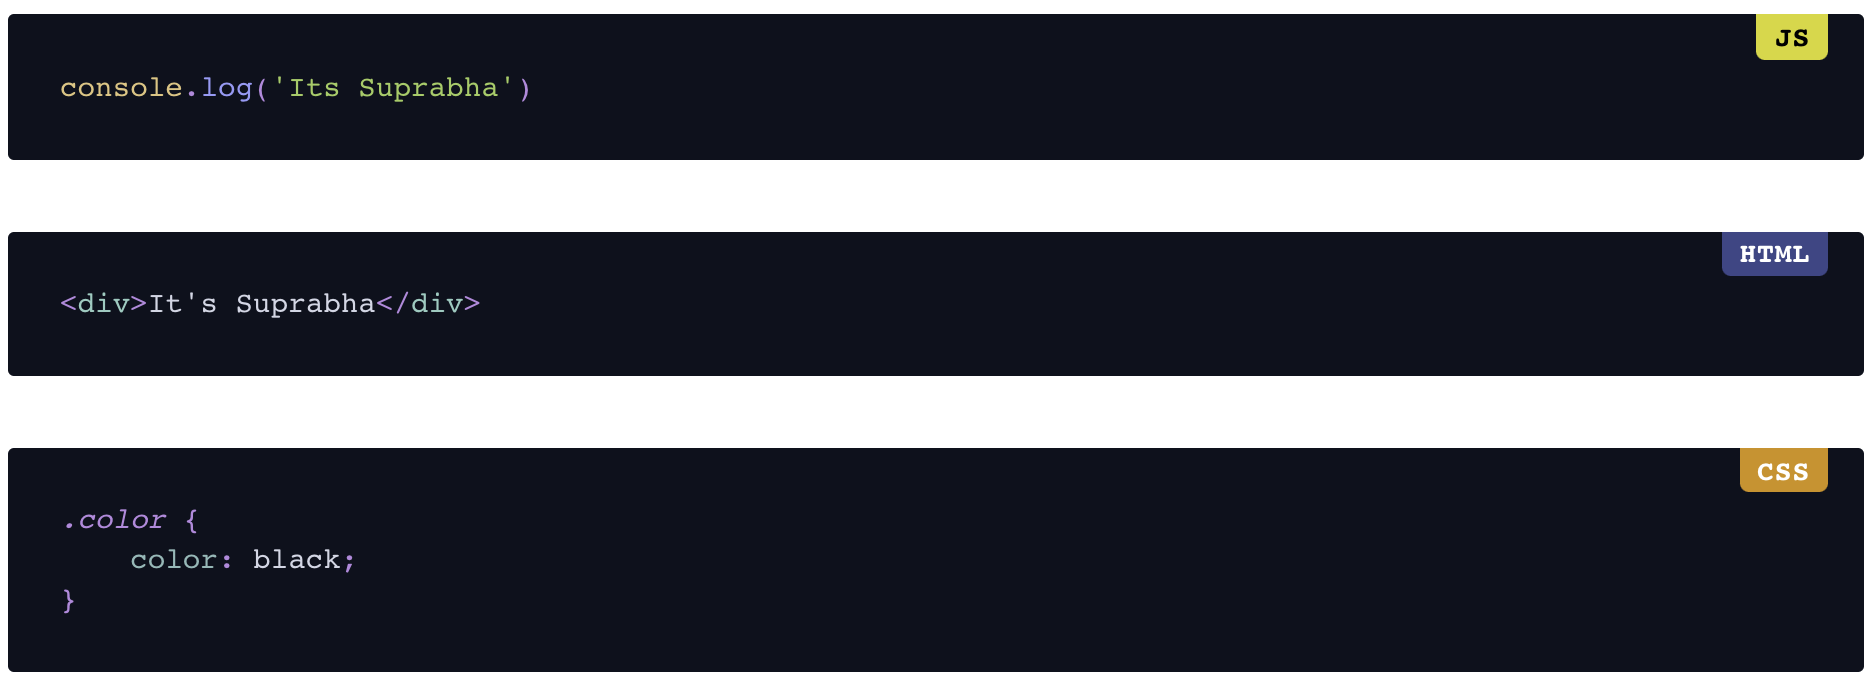
I have added the language tag manually for code snippet. <⁄>
.pre-highlight { position: relative; overflow: auto; -webkit-overflow-scrolling: touch;}pre { overflow: auto; padding: 2em 1em; &::before { background: white; border-radius: 0 0 0.25rem 0.25rem; font-size: 14px; letter-spacing: 0.025rem; padding: 0 0.5rem; position: absolute; right: 1rem; text-align: right; text-transform: uppercase; top: 0.8rem; font-weight: 600; line-height: 1.7; } &.language-javascript::before { content: "js"; background: #f7df1e; color: black; }}
Checkout the committed code here @github . Also, fixed the tag scrolling issue here