React Native App using EXPO

For beginner, who wants to start working on APP, it’s really easy to start with EXPO. We can build an app in short time using Native Base and Expo. Xcode or Android Studio are not required. We just have to install another tool called expo.
This toolchain includes * over the air (OTA)** updates, easy build tooling and a lot of extra API’s on top of React-Native.
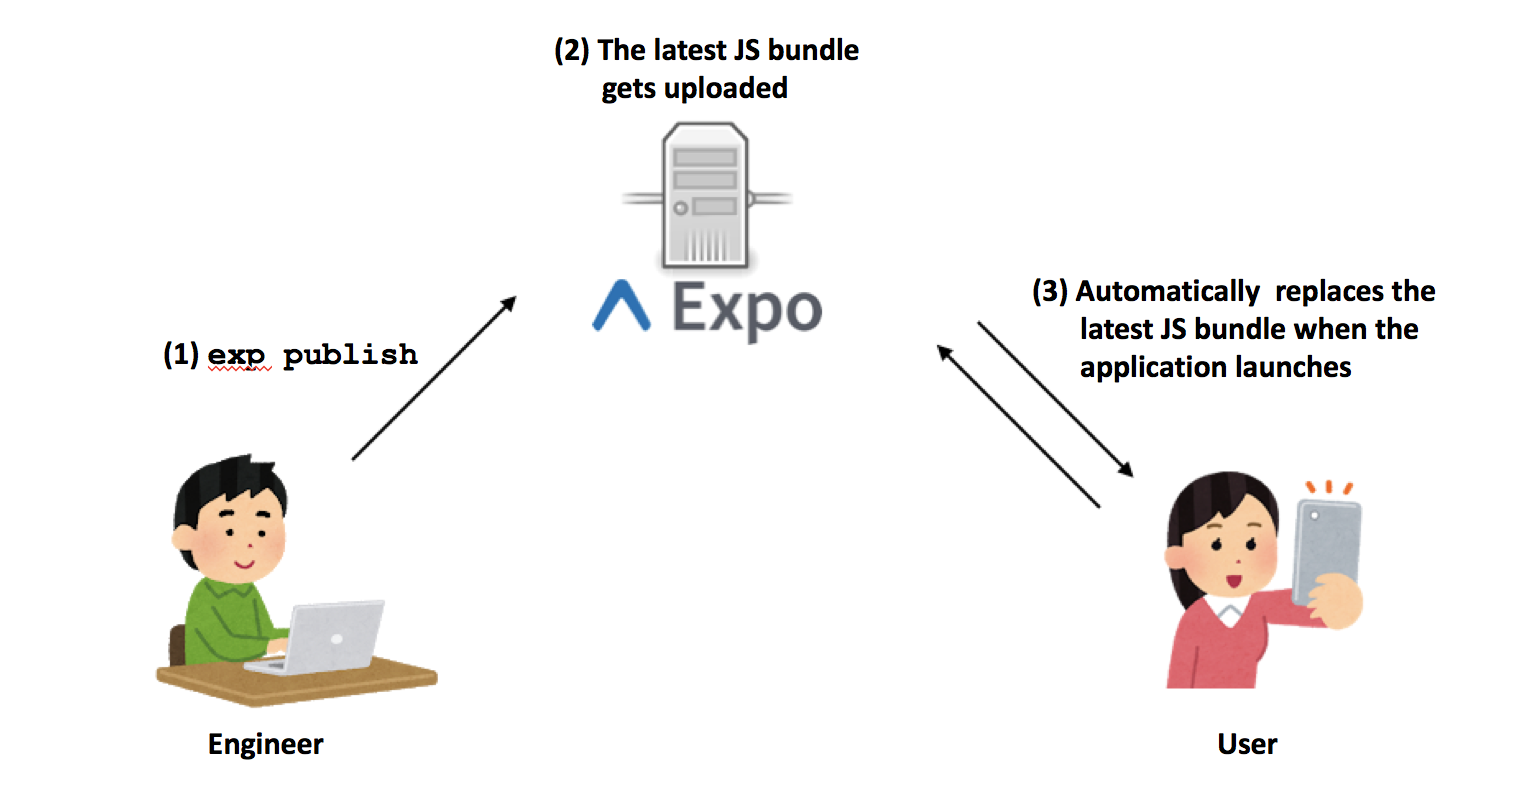
What is OTA 🤔
An OTA update does pretty much what it says. You send an update out, the user downloads it, and the app updates — much like the web. OTA updates are a strong point of React Native. Since we, the developers, usually write our logic in JavaScript (which doesn’t have to be compiled and installed) we can just send out a new JavaScript bundle, and once the user downloads {“type”:”block”,”srcIndex”:0,”srcClientId”:”9e83ea28-f3a5-4f1c-be6e-7ddde7f002cc”,”srcRootClientId”:””} it they have the updated logic! No waiting required.
PROS:
- Easy to get started
- Option to live reload on Expo app and others
- Support both iOS and Android from the start.
- Save valuable time when creating production builds
- Publish updates for your apps faster
- Easily we can integrate push notification
CONS:
- If you need to keep your app size extremely lean, Expo may not be the best choice
- Must stick with supported SDK’s
SETUP 🖥
We can setup the EXPO react native app in following steps:
- Make sure Node.js has been installed in the system
$ brew install watchman- Install
npm install -g create-react-native-app - Then run the following commands to create a new React Native project
create-react-native-app fooodieorcd create-react-native-app AwesomeProjectnpm start
which will start the server.
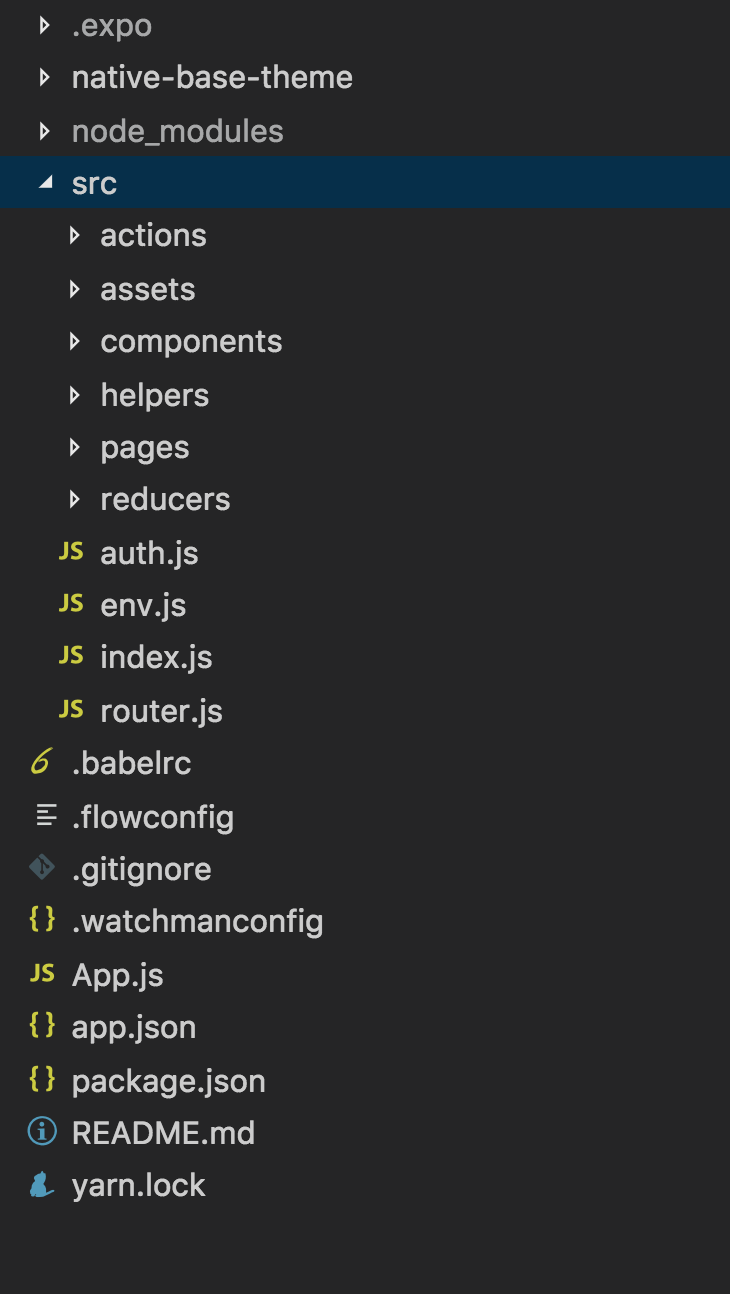
How my folder structure for App looks like:
Let's understand app.json file:
In root we have app.json file which is configuration file for react native which contains many variables.
Such as:
- Splash screen: First screen where user comes first.
- androidStatusBar: where the battery is present.
- associatedDomain: write all the list of api’s which we are using in app.
- Android permission: We have to give location information such as goole key.
- certificateHash will be generated from android Xcode.
How to debug React Native 😕
To debug React native code, You need to install react-devtools
$ npm install -g react-devtoolsAdd the script for react-devtools in package.json
"react-devtools": "react-devtools"Run at root of the project
$ npm run react-devtoolsAccess console log in React Native
Expo gives the script which will show the console in react native if there is any.
$ react-native log-iosExpo Vector Icons ✎
Adding Expo Vector Icons to the project. Check out it here
How to make Build? 🏘
To make a build and export, you can use the below following commands:
To build android APK:
$ exp build:androidTo check the status:
$ exp build:statuswhich will give result like:
the Apk’s is hosted on amazon aws[exp] Android:[exp] APK: https://HOST/yourapp.apk
Bug Log ⧮
To log the bugs, you can use sentry